
Metrology & Flatness
Our Metrology Equipment
Measuring Instruments used for Flatness, Thickness, and the Surface Finish of workpieces
In summary, we utilize a variety of fast and reliable high precision instruments to evaluate the diverse finishes that are needed to be achieved throughout the industry. What you will find in our metrology lab is the latest technology equipment to demonstrate the most precise reading that needs to be achieved. Undoubtedly, assuring you with the accuracy in surface finish, flatness, and thickness measurements of a part with our measuring systems. We have the tools of measuring down to the tenth of a micron. We are also ISO 9001:2015 Certified to provide you with the high-quality standards that we continuously stand by.
Stahli USA offers flatness measurements of three different types:
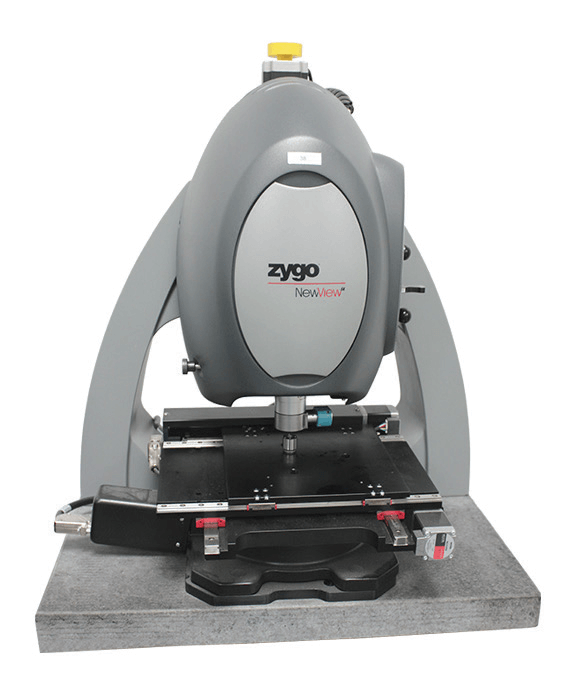
Zygo Instrument – Optical flatness measurement reliable to the nanometer range accuracy. Typically is used when measuring very small parts or step dimensions.
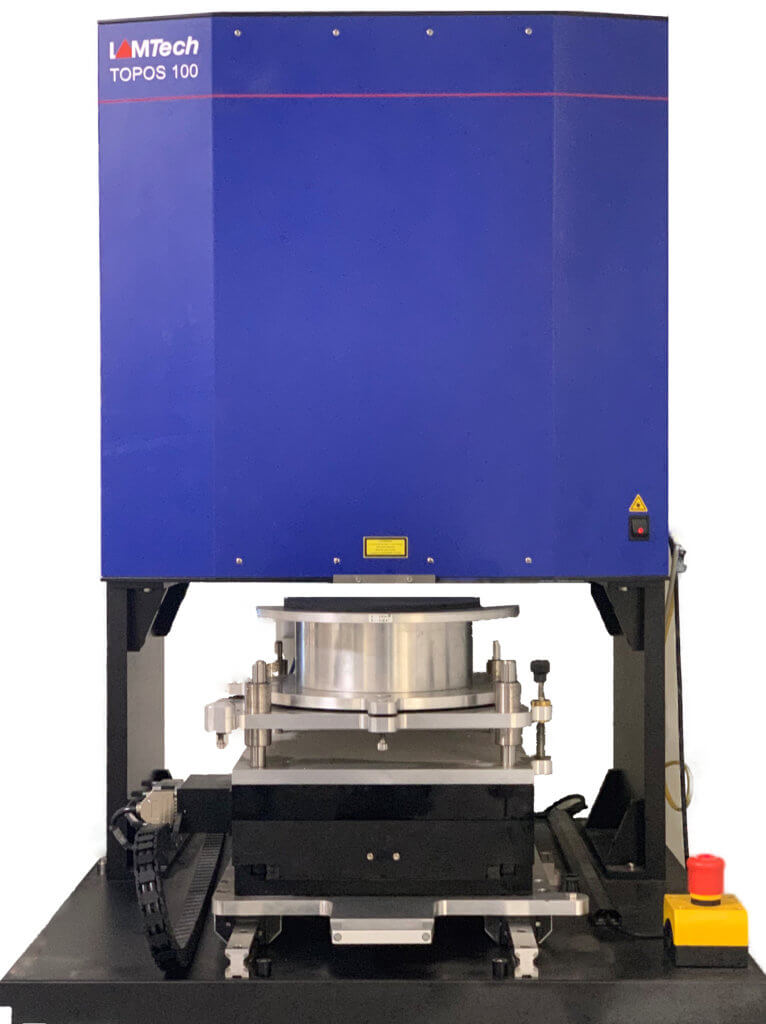
LamTec Instrument – Optical flatness measurement that’s surely reliable to the micron range accuracy. Commonly used when measuring a wide range of parts, specifically 11+ inches in diameter.
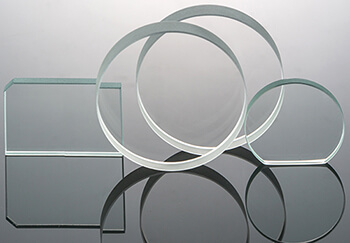
Optical Flats – In addition to what we have in stock, to clarify we can special order optical flats for any size parts.
SURFACE FINISH MEASUREMENT
We go above and beyond in providing the finish that is needed to be achieved. Feel confident without a doubt in our results with our data provided with the precision and reliability you will receive working with Stahli. Surface finish readings can often be overlooked while creating a new process. We often see companies run into this issue so that is why Stahli USA continuously dedicates in only using the latest technology and constant improvements to our inspection system. In sum, precision and quality are what we take pride in. Any surface texture can be measured at Stahli USA by utilizing different methods:
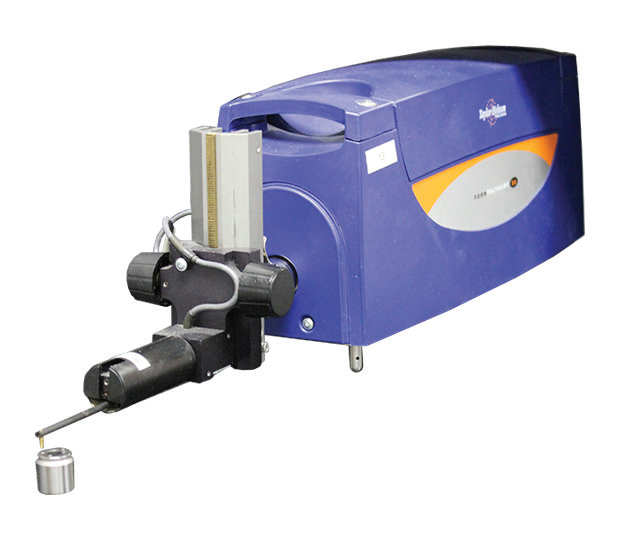
Taylor Hobson – A physical measurement of the texture of a part. It uses a stylus that can traverse most materials and reads to the nanometer range.
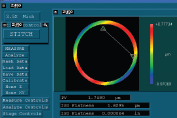
Zygo Instrument – Optical 3D texture analysis with the ability to read in the nanometer range
THICKNESS MEASUREMENT
Measuring the thickness of flat pieces at Stahli USA is through the use of a Brunswick instrument with accuracy to the nanometer range. In addition, we have the tools to measure the step dimensions and counterbores by using step gauges.
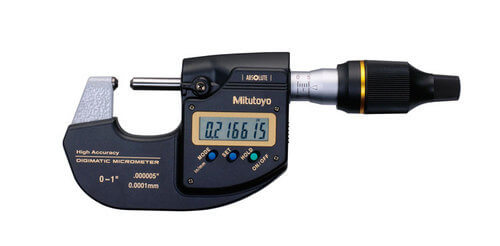
Mitutoyo – Portable physical measurements on our shop floor for fast texture analysis
Brunswick – Measures thickness, parallelism, and flatness down to the nanometer range.

Flatness:
- Zygo – Measurement of parts from 0.020 inches to 3 inches in diameter
The Zygo is a 3D optical profiler that is a non-contact surface measurement instrument. It has the ability to read of micro-and nano-scale surfaces. In relation to the Zygo being a 3D scanner/profiler, this instrument is able to provide both flatness and the surface finish readings of a workpiece. This measuring system produces accurate and repeatable measurements. Although, it’s main focus is for readings of smaller workpieces.
- LamTec – Measurement of parts from 0.25 inches to 11+ inches in diameter
The LamTec is our latest addition to our metrology lab. It replaces the Tropel that was our main measuring instrument for flatness readings. The LamTech and Tropel both achieve the same performance standards although the LamTech adds to its capability. Particularly, the LamTech allows measuring of a workpiece surface without direct contact with the glass.
The Difference..
The Tropel does require contact with the glass which can potentially cause an inaccurate reading. This happens if the workpiece is not fully clean of the substance that was in use during the finishing applications. In addition to this happening, causes the instrument to read the substance as part of the workpiece surface area. The LamTech allows us to completely avoid inaccurate measurements with the no-contact feature of the machined part. In addition, the LapTech instrument allows us to measure the flatness of workpieces bigger than 11 inches. Which in turn, the tropel measuring systems not capable of achieving.
- Optical Flats – Built for your specific needs
Optical flats are an optical-grade piece of glass that is lapped and polished on both sides creating an extremely flat surface. The purpose is to use them as a reference to find the flatness of an unknown surface for comparison. An interferometer is used as a light source while the optical flat is placed on top of the workpiece you are trying to get measurements for. Therefore, you will then be able to measure the workpiece by the light bands within the surface to precisely give an accurate flatness of the finished part.
Surface Finish:
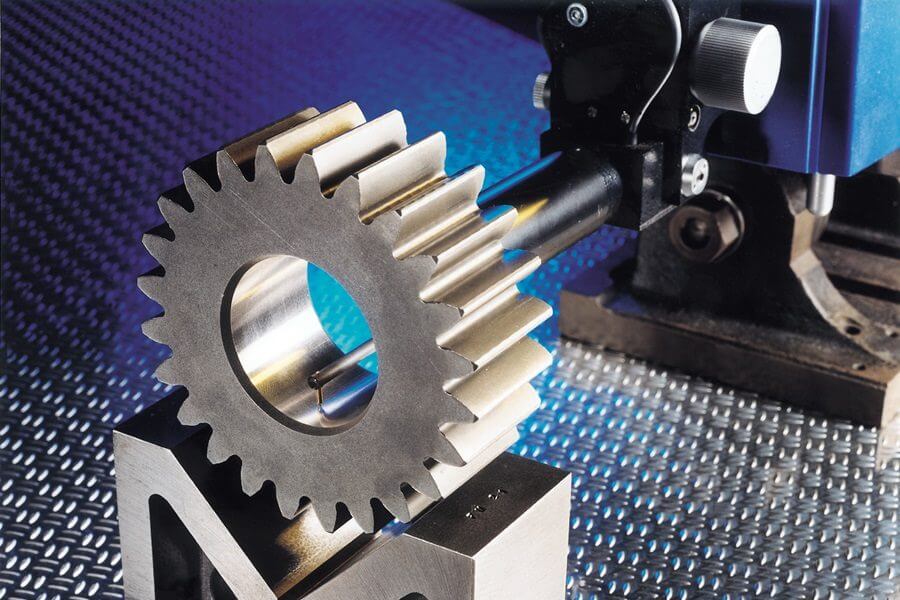
Taylor Hobson – Measuring of the part surface
Mitutoyo – A portable measurement tool for flat pieces that satifies any size part.
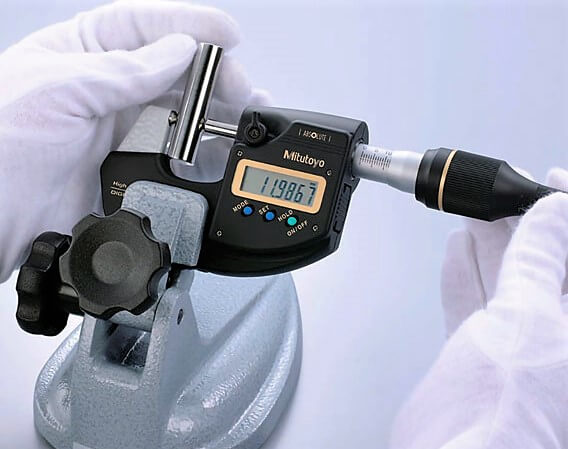

Zygo – 3D measurement of parts
Stahli USA encourages our customers to visit our facility to witness firsthand the high precision and reliability that’s achieved on a daily basis. We can accommodate wide varieties of thickness measurement(s) while holding or exceeding surface requirements. Call us today to meet with one of our specialists and test your workpieces on our equipment.
